If you are reading this post, you have either already done a few small punch projects, you are ready for a more challenging project, or you are hooked on punch needle. If there is one thing to remember, please remember this tip. Your fabric needs to be drum tight in whatever frame you use.

What does that mean? Well your standard embroidery frame is not going to cut it for more advanced punch needle projects. When your fabric is pulled taunt, you will find (1) that your punching will go quicker, (2) you will not need to keep re-positioning your fabric as you go, and (3) your stitches will be nice and uniform. If you can bounce a coin, then your material is pulled tight enough. All this means a more professional and satisfying result. After-all, why are you going to spend all that time punching only to end up with bare spots and uneven spacing.
Choosing a Frame
There is good news and bad news when it comes to the cost of punch needle frames aka gripper frames. Costs to purchase a small 8 x 8 inch frame can be as much as $60 (USD). And the prices go up from there. Some frames can set you back more than $200. Yep you guessed it, that was the bad news.
Now for the good news, there are plenty of options from frames available at your local craft shop to DIY solutions. I will list some below with the pros/cons. I am not going to go into depth on how to make DIY frames, but if I get enough interest I am happy to do a separate post on them.
Craft Store Options
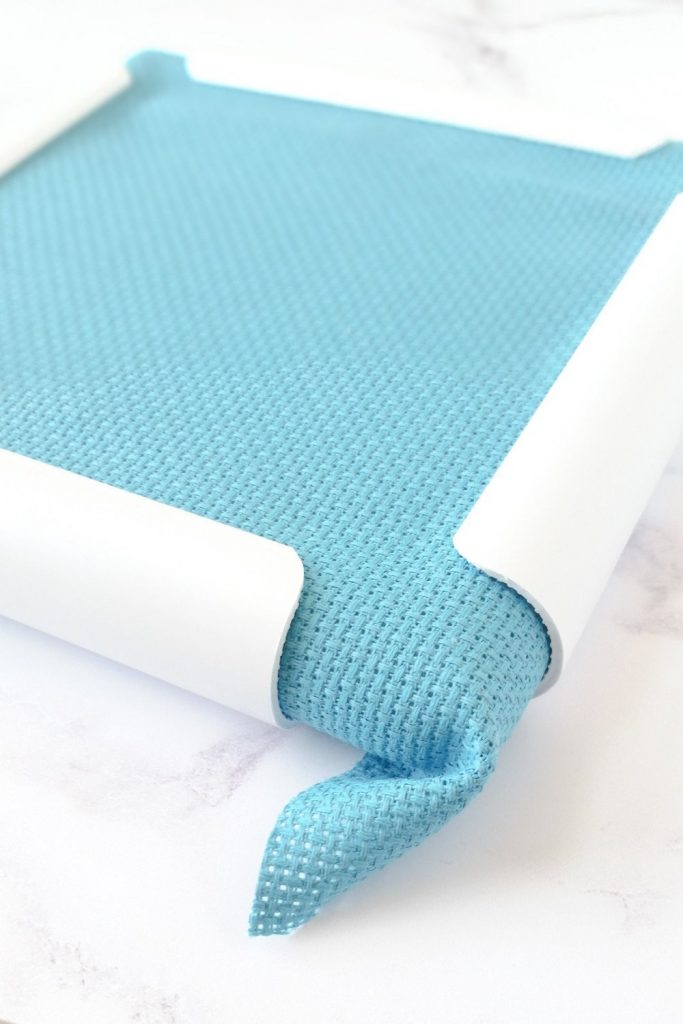
When I started punch needle, I used the good ole standard plastic Q-Snap frames. They come in a variety of sizes with prices ranging from $7-$15. These frames when assembled create a square or rectangle and hold your fabric securely in place. The beauty of the frames is when the fabric loosens, you can just re-tighten by turning the top plastic snap guard. Only con to this frame is you may be tightening the fabric alot.

No-Slip
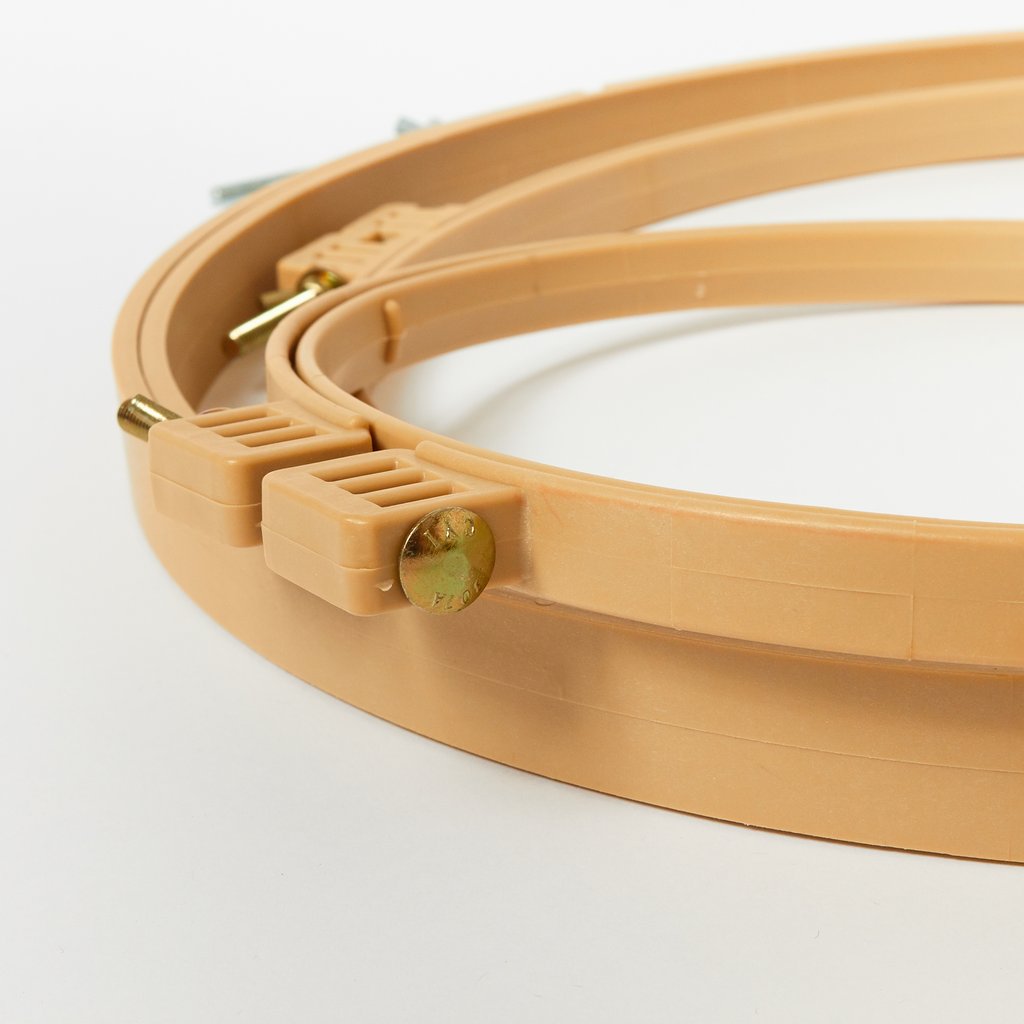
Another great alternative is the NO-Slip interlocking frame hoops. These frames come in different size hoops and are readily available from companies like Dritz and Morgan. Now you are probably saying wait a minute, earlier you said embroidery hoops are not good for punch needle. Yes, but with these hoops there is a unique interlocking design. Effectively it’s a tongue and groove configuration that holds the fabric securely between the inner and outer rings. Another great feature is for Morgan there are options to buy a lap stand.
The cons are these hoops can be rather expensive. The price range for a decent size can start at $23(USD) and go up from there. Try to pick these up when your local craft store runs a 50% coupon.

DIY
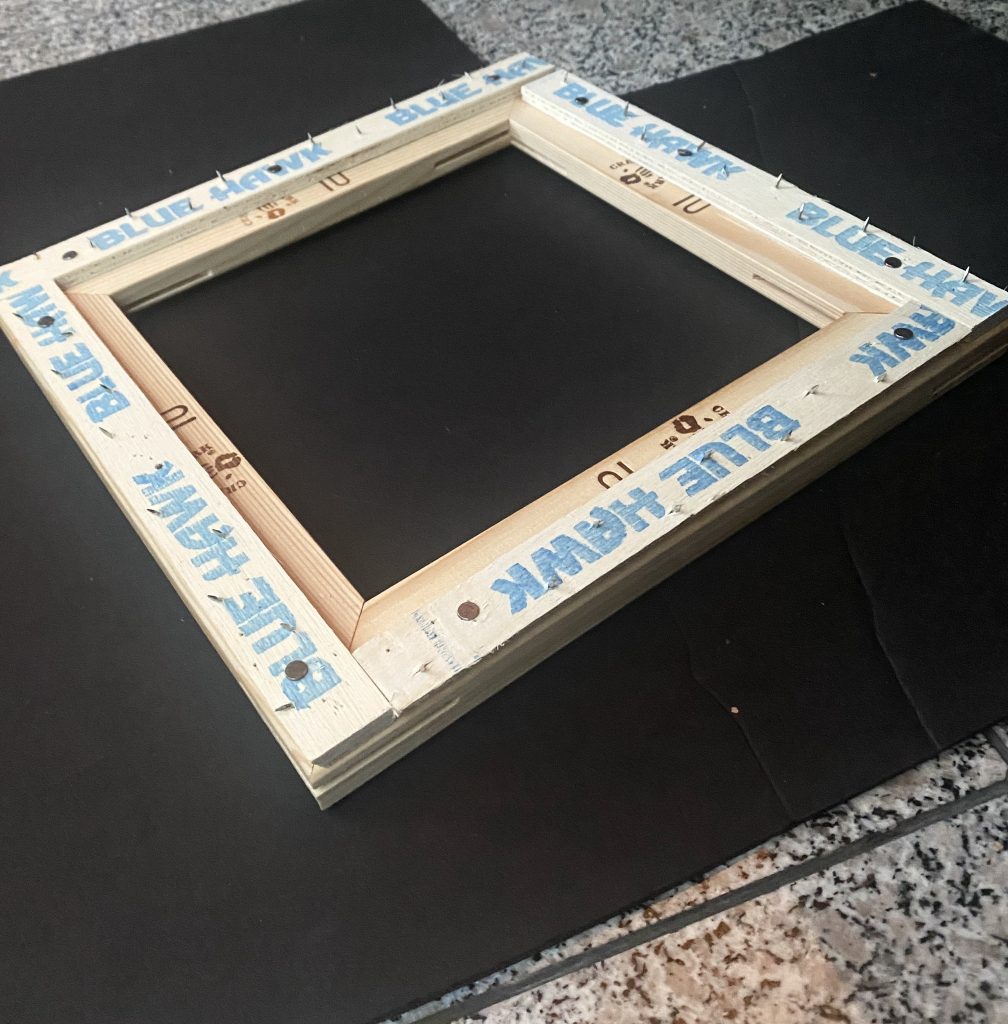
If you are handy you can make your own gripper frame for about $6 (USD). There are two elements you need.
- wood to make the frame
- carpet tack strips to secure to the frame.
Your big box store will have everything you need. Either you can buy some 1×2 pine for the frame or go to you local craft supply store and buy some stretcher frames to assemble your square or rectangle. Then nail your carpet tacks and that’s it you have a DIY gripper frame.
After you stretch the fabric across your frame, be sure to cover the tacks with either carpet pad strips or some other thick fabric so you don’t puncture yourself as you punch. Remember the holes go in the fabric and not your arm. You can also use the same method above but line the frame with gripper strips instead of tacks. You can find sellers of gripper strips on EBay. However, gripper strips are a more expensive alternative but a safer one than tacks.
Happy punching.


Wonderful blog!! I honestly appreciate your way of writing a blog.
Thanks so much for your feedback!
I am very impressed with your post because this post is very beneficial for me and provide a new knowledge to me
So glad to hear this was helpful. Good luck!
One of the best content piece in days! Thank you so much.