
When I created my studio, I wanted a space that did not look like an office. Pops of color everywhere to energize my senses was the goal. I also wanted my desk organized but in a playful manner. Trouble is I found it difficult to find accessories to match my color choice of orange. So after walking around by favorite local Home Goods store, I found the answer to my problem: a wood desk toy. That’s right a wood desk toy can be the perfect playful item to make your desk not look so serious. The unfinished wood offers great opportunities to customize it to the color you desire. You can find them at toy stores, flea markets or craft stores.
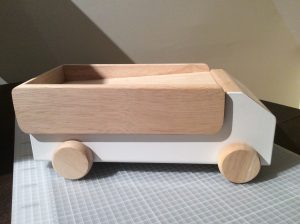
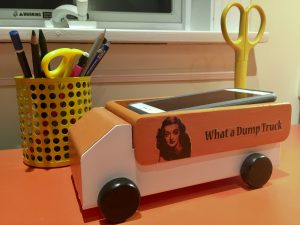
I found a wooden truck at Home Goods which was the perfect size to hold my Iphone 6 plus. But for me the natural wood and white metal was too bland. I thought, painted the right color, it would blend in perfectly with my studio. The following tutorial hopefully will provide inspiration for you.
Wood Desk Toy Tutorial
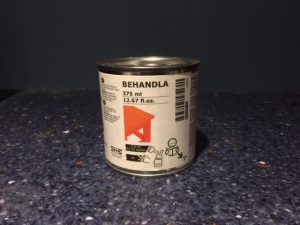
1. Decide on a color and medium to apply. I like Ikea’s BEHANDLA glazing paint. A pint can will run you $3.99 and cover 60 square feet. The glazing paint comes in about 9 different colors.
Or pick up a sample can of exterior house stain by Benjamin Moore. Choose a pint sample of semi-solid or solid stain for about $8.99. Benjamin Moore has over 70 colors.
2. Make sure your wood item is clean and dry. If your wood has any kind of glossy finish you will need to sand that finish off well and clean it of all dirt. For tough finishes consider a chemical stripper. I like citris based strippers because there are no noxious fumes and it can be applied indoors.
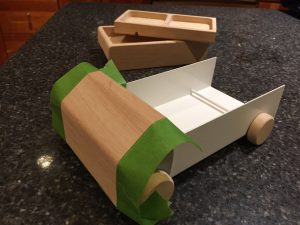
3. Tape off the areas of the wood you do not want to paint/stain. I used painter’s tape from one of the Big Box Stores.
4. Using your glaze paint or stain, give the wood a light first coat using a brush or roller as directed by the product. Glaze paint can take 4 to 6 hours to dry. And this requires patience.

5. Apply as many coats as necessary until you get the finish you desire. Each coat will darken the product. So fewer coats create a finish with greater transparency in the wood (i.e. like a wash effect). For my project it took 3 coats before I was happy with the finish. The nice thing about the IKEA glaze paint is there is no need to sand between coats. I used a minwax expresso stain for the tires with a light sanding between coats.
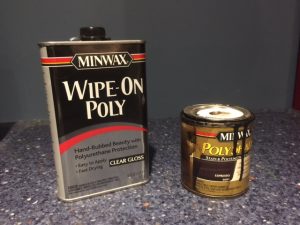
6. While you do not need to seal your project when using the glaze paint or exterior stain, I would recommend applying a water based polyurethane after using other types of wood stains.
7. If you want to take your project up a notch, consider adorning the outside of the project with stickers from a craft store or make your own image transfers. For my truck I made an image transfer using a picture of Betty Davis. To add a little playfullness, I added the words “What a Dump Truck.”
Good Luck!
The post you published here is very informative. Playing with toys can be an enjoyable means of training young children for life in society.